Showing posts with label acrylic paint. Show all posts

Tuesday, July 18, 2017

Paintbrush Poe

Hello all in blog land. It is Cathy here with my paintbrush Poe.
This is how I made it.
First get a cheap paintbrush( I got my from Michael's)
I painted the handle and the bristles with white paint. Then I painted the frame white.

Next I added black paint to the frame when it was still wet so it turned gray in spots.
Then I added black to my paint bristles. Then I rubbed some black paint in spots on the frame. Next I took some purple paint and added it to the bristles. When That was drying I took some gold and rubbed it oh so lightly over the frame to add a hint of gold to it. Then I added it to the bristles. I did add paint to the front and back of the brush and bristles.
So while that was all drying I stamped out my Goth Poe from the new stamps at Lost Coast. Colored it with Copic markers. When the frame was dry I traced the inside oval so I could cut out and add it to the frame.
The last thing I did was glue it all together. It was a fun altered paintbrush to do.
 Thanks for looking. Enjoy.

Wednesday, April 26, 2017

Hi all Cathy here with my Crayon Smell card.
Don't we all love the smell of a box of new crayons. I know I sure do. That is what I first though of when I made this card.
 So this stamp is from Carmen's Veranda new stamps. I stamped it on Copic friendly paper. Then I colored it with Copic markers. Next I added Glossy Accents to the tops of the crayons. When that was drying I started on the background of the card. I wanted a vintage look so I went though my paper stash and found the one I liked. So then I started on that background. Guess what I used to make it? Bubble wrap and a cap from a old marker. Also paint. I had bubble wrap sitting on my table and I said lets use it for the background. I used the white paint for that one. The cap I used black paint for it. Yes that is it.
Next I cut out the crayon stamp. Edged it in black marker so you don't see the white paper from me cutting it out. Taped that on front of my card, then I printed the saying from the computer. Layered that in black cardstock. That is my card

Monday, April 17, 2017

New Favorite Background

Here is how I did my flying Mona favorite background. Got a straw. Cut end into strips. Picked out 3 to 4 paints. Spread out paints on craft mat. Dip straw "paint brush" into paints. Dap on paper. I used mixed media paper but you can use any type. Repeat with other colors of paint. Then I set aside to dry. Then I stamped Flying Mona on a Copic friendly paper. Colored her with Copic markers to match the paint colors I used to the background. Then I cut her out. She needed a little glitter on her so I added glitter to her crown circle.  Edged her in black marker so she blends well. Then I added her to the card and edged the blue ink. Layered the panel on black cardstock. Then added that to a card. When I was done I looked at the card and thought it needed something so I added a saying from Tim Holtz small talk stickers. http://alteredcelticgypsy-cathy.blogspot.com/


Sunday, April 16, 2017

Another Favorite Background Technique: Masking + Gelliprinting

Greetings, Lost Coasters! Today I wanted to talk a bit about a cool background technique you can use with any stamped image and a little masking. Fire up your trusty gel plate and let's get going!

I made this piece using the Butterfly Face and Diamonds Borders stamps. I inked them with three colors of Stazon in purple, navy, and turquoise, stamped the images, and cut masks for them. 

Using repositionable adhesive, I tacked the masks down over the stamped images, then got to work with my gelli plate. For this piece, I used the 5" x 7" plate. (I cropped the final piece a bit so that I got a composition I liked.)

Onto the gel plate I rolled on three colors of acrylic paint (blue, purple, lavender) with a brayer. I dragged a pencil eraser (the kind that fits on the end of your pencil) through the paint to make the wavy lines, and pressed a texture plate into the wet paint to get the warped pattern most visible in the purples. (NOTE: Don't worry about being too perfect and precise with this--you want a loose cool arty effect!) Then I printed directly onto the masked images.

There was still a little paint on the plate and not enough textural interest going on in the blue area of the print for my taste, so I put a numbers mask down at the top, rolled just a bit of black paint onto the plate for a dryish, texture-y effect, and printed that on top of the still-masked Butterfly Face. I wanted to keep these numbers in the background as a quiet bit of additional interest, not steal focus from the beautimous Butterfly. 😜

Then--just remove the masks, and voila! You have a quirky, arty piece ready to go in no time at all!

If you try this technique, please be sure to let me know, because I would LOVE to see your projects. 😍 Happy stamping and gelli-printing!


Thursday, February 23, 2017

February Is For Lovers: Or, When I Am King You Shall Be Queen

Hello stamplings! Today for your creative delectation I'm going to walk you through the piece I made for our Lovers event, "When I Am King." (You have two more days to enter your lovers-themed art --until midnight, February 25th--for your chance to win cool stuff! Click on the link in this paragraph and find out the deets if you haven't already entered!)

Do you guys know the children's rhyme "Lavender's blue, dilly dilly"? I took it as my inspiration as I was looking at our fab king and queen chess pieces from the Chess Set. You know how some men will promise you anything, right? LOL So here's our lovable braggart king making you his queen.


Here's how I did it.

Using permanent (waterproof) ink, stamp the awesome king and queen onto hot-press (for a smooth surface) watercolor paper. Stamp and cut masks for the figures, and place the masks over the stamped images.

Sprinkle blue, purple, and gray Nuance powders liberally about! At this point, your piece will look approximately like this:


Now go town and mist the powders with water to your heart's content. Watch the magic happen as they bloom and blend! I like to leave them a little dry in spots for texture, but you're the boss here.

I next used a checkerboard stencil to suggest a chess board, and spritzed some more color through the stencil. (Did you know that you can use the Nuance Powders to make your own sprays? Yep--just put a bit in a mister, add water, and you're good to go!)

Let dry, and stamp "king" and "queen" with the Old Typewriter Alphabet, and emboss with silver EP. I outlined the letters in black artist pen to help them stand out, which also has the advantage of giving the letters more of a funky, arty, handmade look. The other text was computer-generated and collaged on.

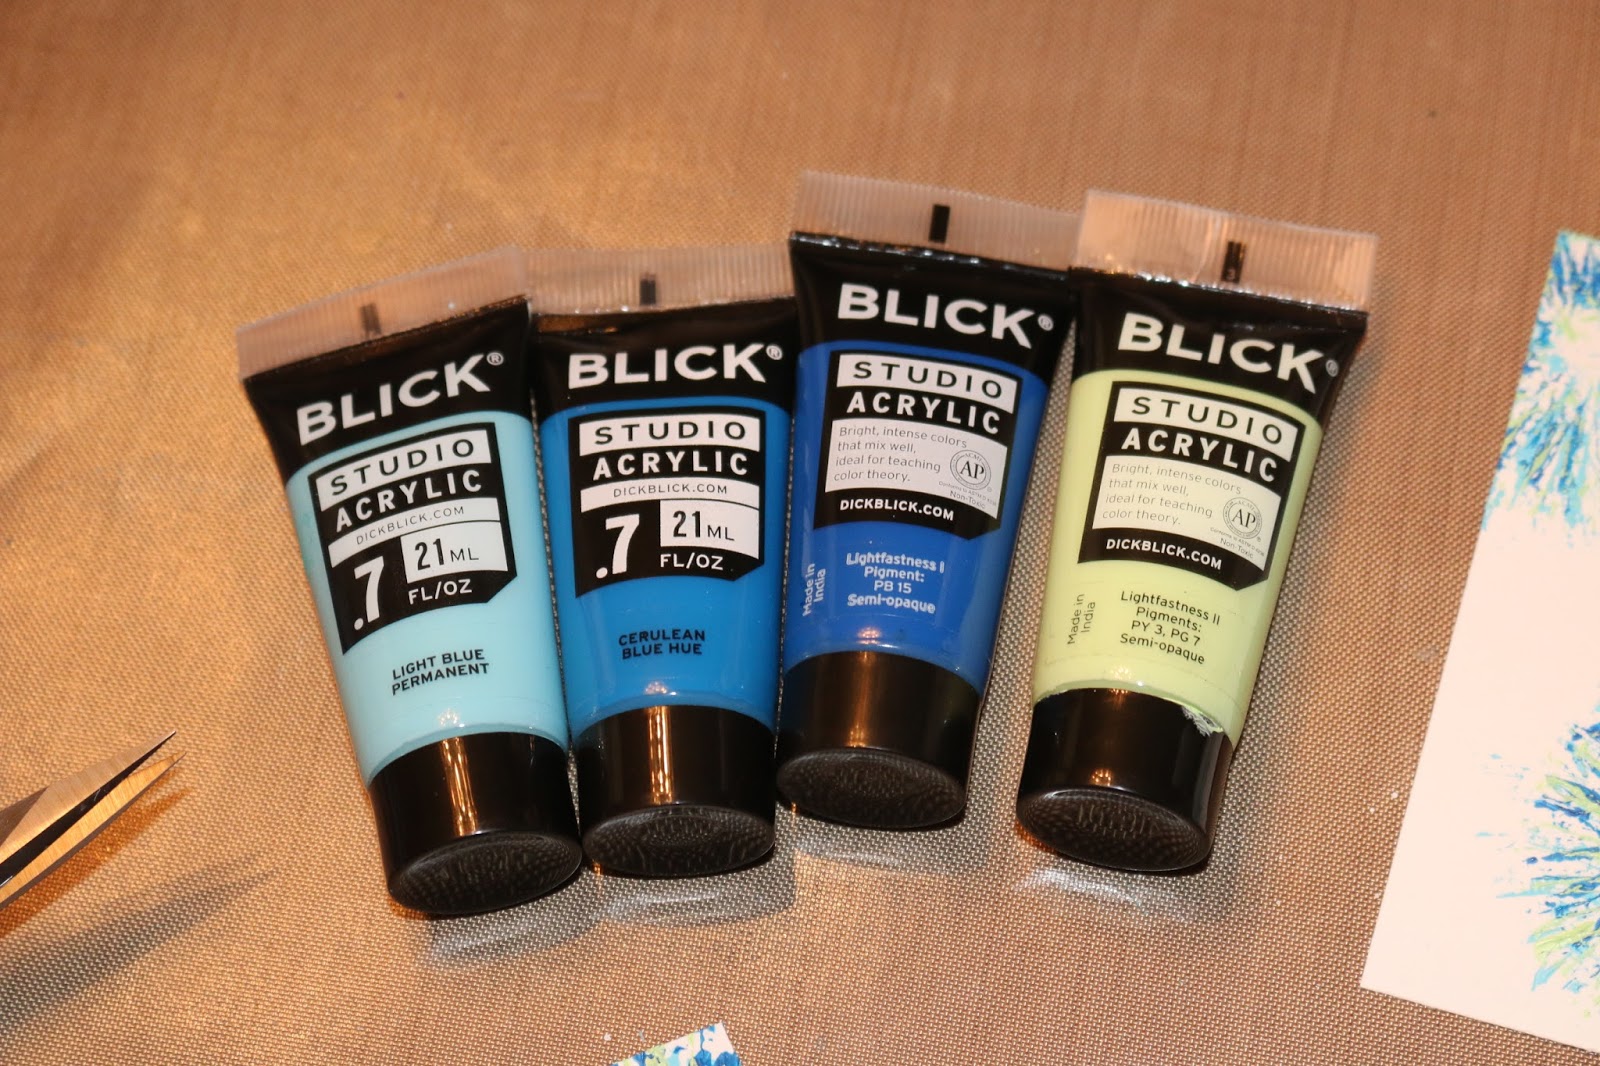
With the masks still in place, drizzle and splotch some white and silver acrylic paint to bring light to some of the dark areas and add a little dimension to the piece.

When dry, remove the masks, and paint the figures with pale washes of lavender, blue, and purple. Accent the figures with sparkly silver glitter gel pen to further catch the light. Edge the piece with lavender chalk ink.


You are done! Admire the fruits of your labor...and maybe go give the king a kiss for elevating you to royal status!