PLEASE NOTE: This is the Cliff Notes version of the tutorial… For tons of photos, explanatory details, and A VERY COOL REVEAL VIDEO showing the masks being peeled off layer by layer to reveal the final collage, visit my blog! I lay it all out for you there! 😁
1. Plan out the composition.
Gather the stamp images you'd like to use and start playing with them. You can stamp them and roughly cut them out to experiment with how to position them relative to each other. You could also use software such as Photoshop or InDesign to make a sketch.
Elements from the Doll Accessories Set
Black Flourish
Bishop from Chess Set
2) Decide on your focal point.
In all likelihood, this will be the image you stamp first--the one that appears on top of all the other layers in the collage, in the foreground. In my composition, it was the eyeglasses image.
3) Determine the order of operations.
Now you have to figure out the order in which you are going to stamp. Determine what is "foreground" and what is "background," and proceed in a logical order. The things that go behind, in the background, get stamped last.
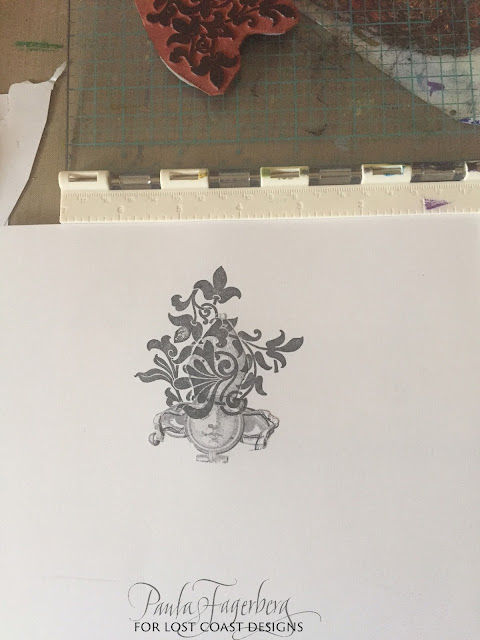
4) Using your sketch as a blueprint...start stamping!
I recommend the use of a stamp positioner or stamp press tool such as the MISTI. This allows you place each stamp exactly where you want it to print, and to re-ink the stamp to get perfect coverage in case an image prints a little unevenly the first time.
5) Cut a mask for each image as you work.
After you stamp each image on the "real" paper, stamp off onto some scrap paper, and cut that print out to use as a mask. I used repositionable adhesive to stick down my masks precisely over each image before stamping the next layer atop it.
6) Remove the masks; oooh and aaaah.
Again, for a much more in-depth explanation packed with tons of tips, visit me here. And if you have any questions whatsoever about this process, please ask me in the comments over there. I’d love to help you guys try this out if you’ve never done a stamp collage before!


Paula I love this black and white collage doll that you made and how you put all the parts together and came up with something so unique!
ReplyDeleteThanks, Laurie! I just wish I'd made more than one while I had all the masks out and ready to go...Work smarter, not harder! LOL
Delete